
How AI Is Transforming Daily Work in Service Teams
Reduce downtime and improve service efficiency with AI-powered troubleshooting. Learn how service teams use ilean to solve problems faster and capture knowledge.
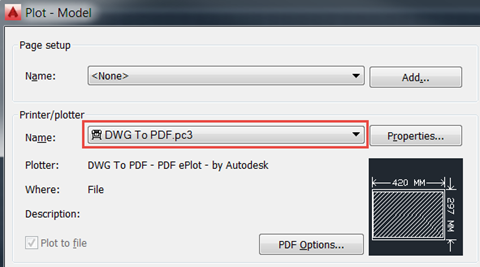
If you are an AutoCAD user or have ever been to an Advanced AutoCAD course, you may be aware that AutoCAD provides you with a selection of plotters that allow you to print to PDF, DWF and other formats like JPG or PNG.

However, it can be useful to be able to create a plotter yourself in case you lose one of the default ones or need to create a different one. Below we are going through a step by step process on how to create a PC3 plotter for use with AutoCAD. We are going to create a ‘DWG To PDF’ plotter in this example but you can use the same method to create a different plotter.
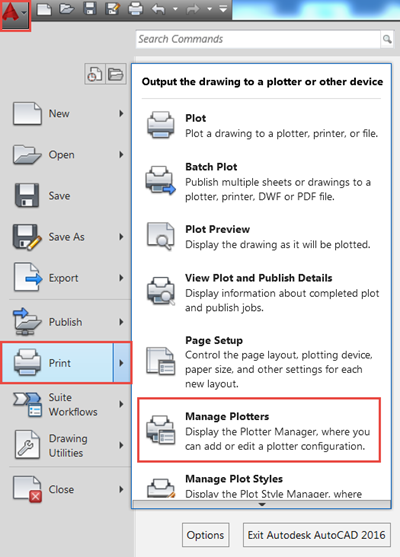
First, click on the AutoCAD menu on the top left corner and click on Print and then ‘Manage Plotters’:
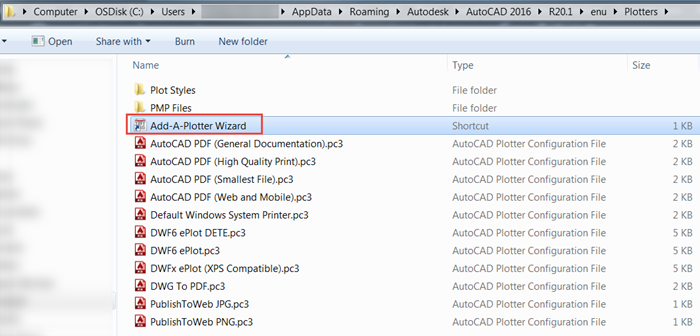
This opens up the folder which contains all the PC3 files on our machine for this version of AutoCAD. This folder also contains a shortcut to ‘Add-A-Plotter Wizard’. We double click this to start the creation of the PC3 plotter.
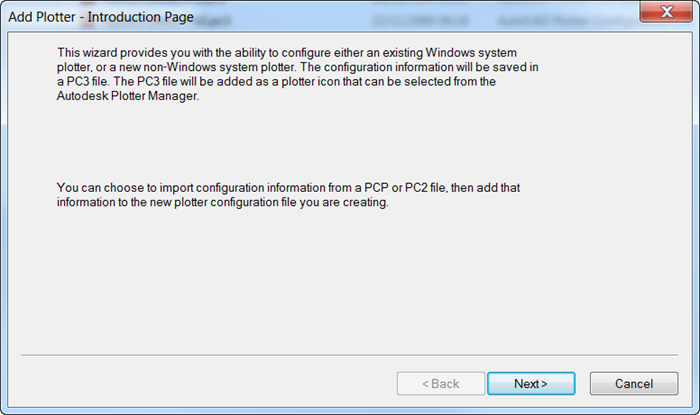
We are presented with an introduction window that gives a brief explanation of what we are about to do:
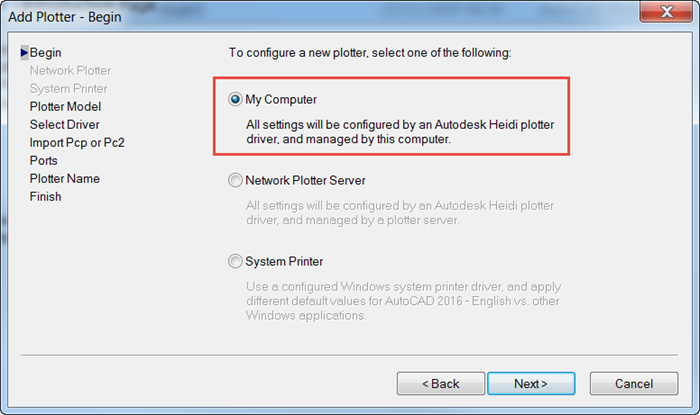
Choose the ‘My computer’ option to store the PC3 file in our machine:
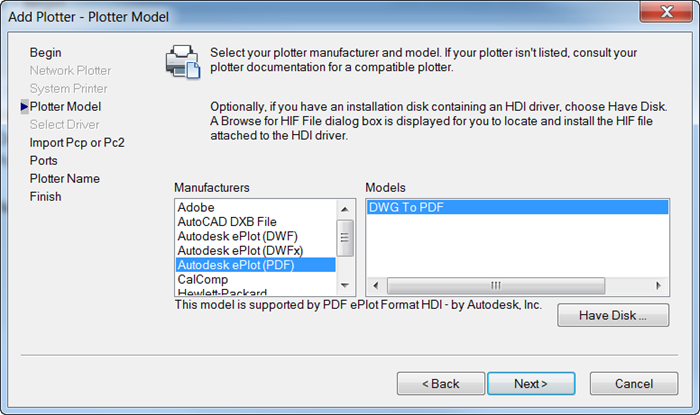
Then the Manufacturer and Model, as shown below:
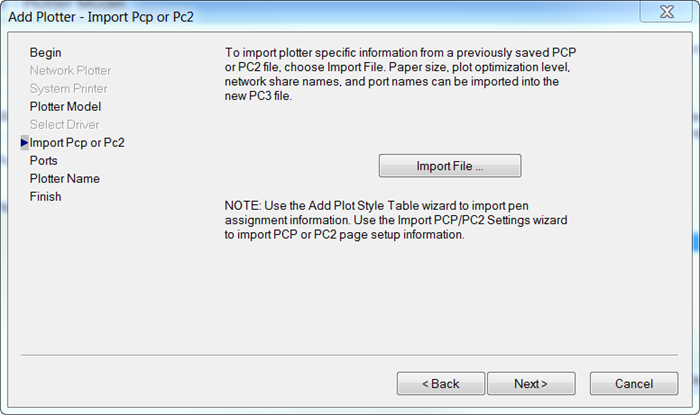
For the next two windows, you simply click next and accept the default options:

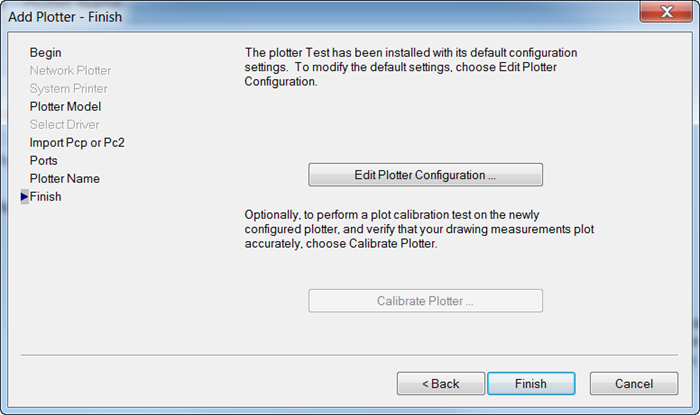
Select a name for the Plotter and click “Finish” to create the file:

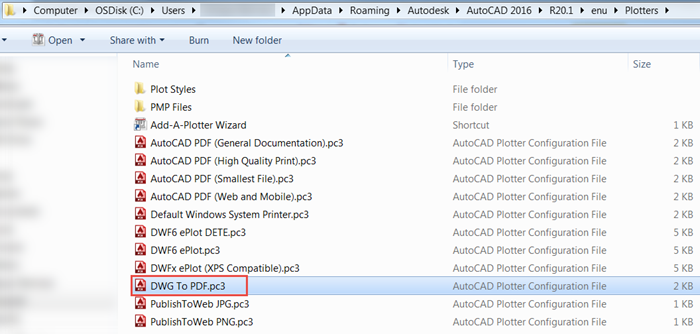
Once the file is created you should be able to see it in the folder and in the AutoCAD dialogs:
I hope you found this useful. If you would like to know more about AutoCAD and its capabilities, take a look at our variety of AutoCAD courses:
Reduce downtime and improve service efficiency with AI-powered troubleshooting. Learn how service teams use ilean to solve problems faster and capture knowledge.

Cybersecurity risks are not always caused by sophisticated attacks or major system failures. In many cases, risk builds quietly through everyday habits, overlooked processes, and limited visibility into where data is stored or how users interact with systems.

Learn how to reduce cyber risk through stronger security foundations. This month's bulletin covers home office security, legacy technology risks, vulnerability management, MFA, and cybersecurity best practices.