
How AI Is Transforming Daily Work in Service Teams
Reduce downtime and improve service efficiency with AI-powered troubleshooting. Learn how service teams use ilean to solve problems faster and capture knowledge.
Components in SketchUp are a great way to include the same object in the model multiple times.

However, if the component is heavy, inserting it multiple times can compromise the performance and slow us down while we are editing the model. To work around this problem, you can instead use a lighter component as a placeholder and only replace it with the final component at the very end, therefore experiencing a much smoother performance when you manipulate the model.
I have provided you with a step-by-step guide on how to accomplish this.
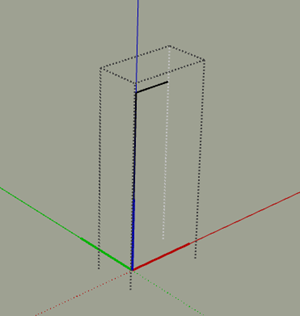
The first step is to create the placeholder component as light as possible. Since a component cannot be created from a single entity, we will create a component from two lines. The shape of the component is not relevant, just the origin and the orientation of its local axes, as will be noted below.

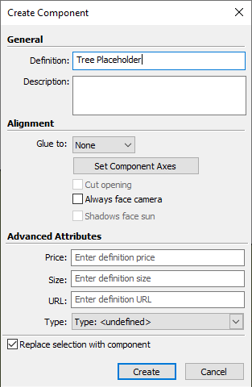
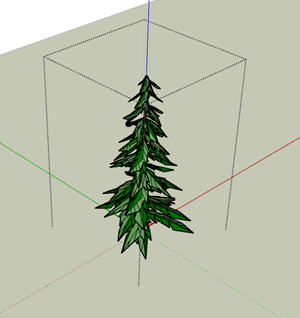
Make sure that the local axes of the placeholder and the final component match. The component will not be scaled when being replaced, it will just be inserted in the same position.
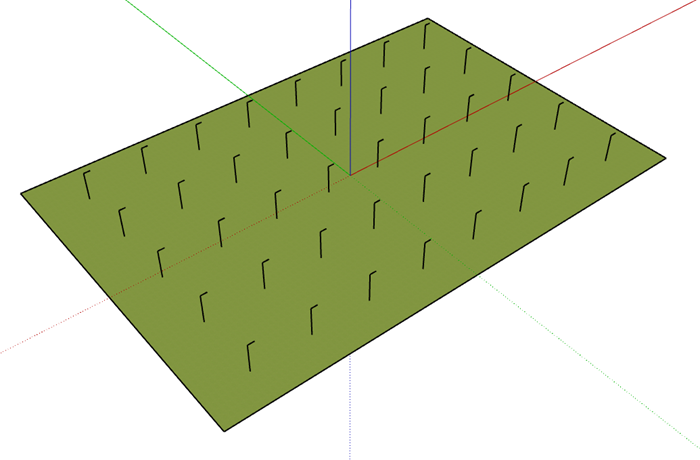
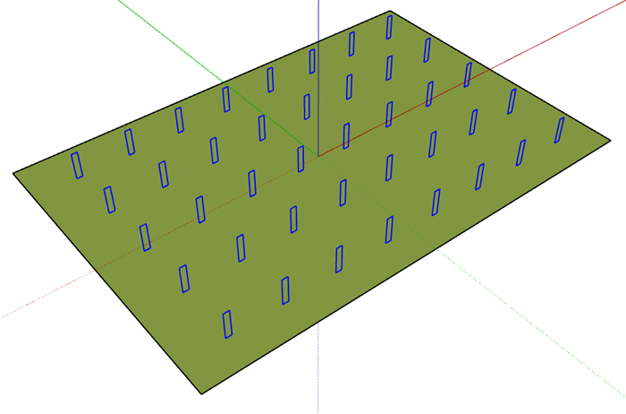
Create as many copies as you need of the placeholder component.
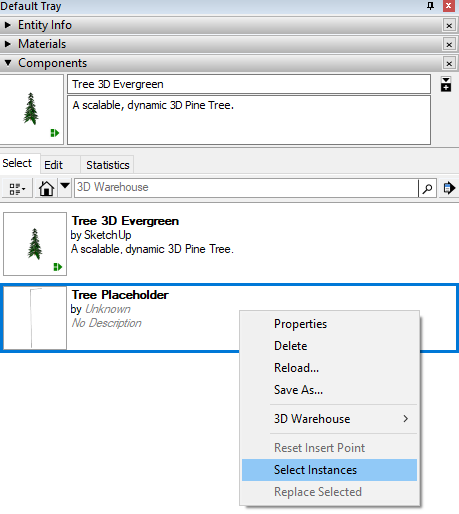
In order to replace the placeholder component, you will need to select all the instances that you would like replaced first. You can quickly select all the instances of a particular component by right-clicking on the component in the default tray and choosing ‘Select Instances’.
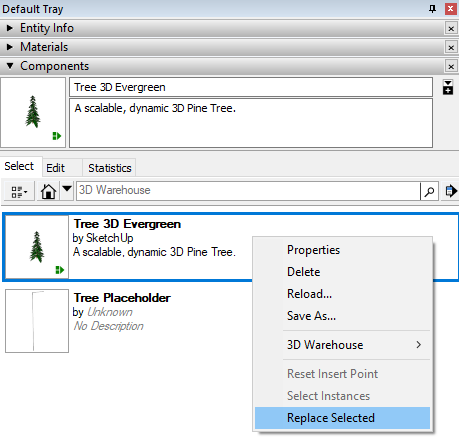
Now that all the instances of the placeholder component are selected, access the ‘Replace Selected’ option by right-clicking on the final component on the default tray.
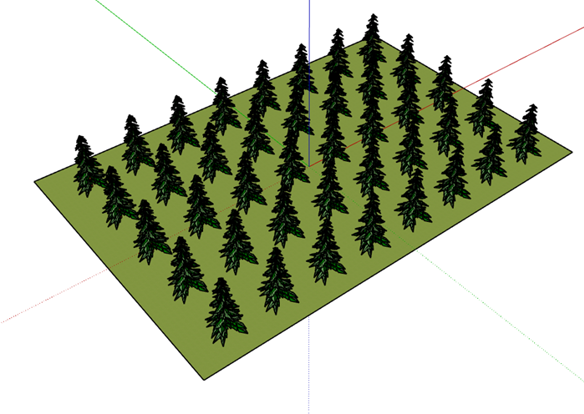
And there you have it. All of the required components.
Our SketchUp Essentials training course shows users other ways to work with components, including:
Find out more about our training offerings here.
Reduce downtime and improve service efficiency with AI-powered troubleshooting. Learn how service teams use ilean to solve problems faster and capture knowledge.

Cybersecurity risks are not always caused by sophisticated attacks or major system failures. In many cases, risk builds quietly through everyday habits, overlooked processes, and limited visibility into where data is stored or how users interact with systems.

Learn how to reduce cyber risk through stronger security foundations. This month's bulletin covers home office security, legacy technology risks, vulnerability management, MFA, and cybersecurity best practices.