
How AI Is Transforming Daily Work in Service Teams
Reduce downtime and improve service efficiency with AI-powered troubleshooting. Learn how service teams use ilean to solve problems faster and capture knowledge.
Following the release of Autodesk AutoCAD 2016 in March, our team of consultants, trainers and technical support provided a review of how the new features can benefit you.
Our Senior CAD Support Engineers have taken a more in-depth look at how to create and use real backgrounds within the program.
AutoCAD’s image based lighting environments are stored in the program folder C:\Program Files\Autodesk\AutoCAD 2016\Environments\Half_Hdr.
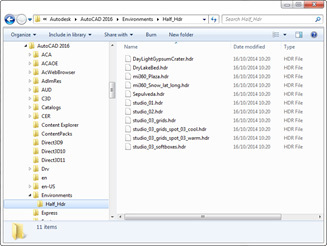
Make a backup of the standard HDR files in that folder and copy the new panorama, renaming it to the desired HDR image file. I used the plaza pre-set and named the new panorama to mi360_Plaza.hdr. Here’s our model of the Royal Enfield Motorcycle in front of the Symetri offices using the panorama we created.

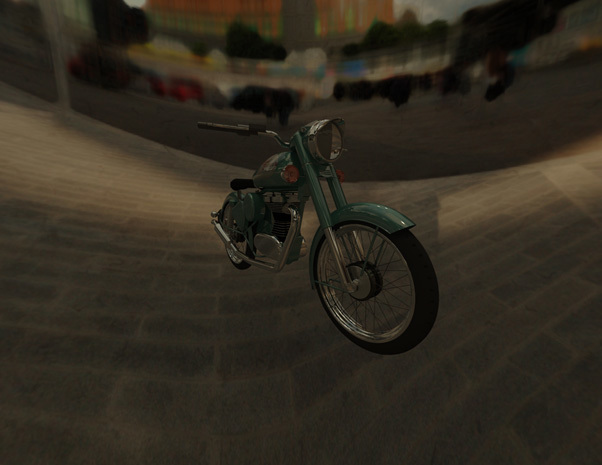
If we zoom into a detail area of the image, reflections of the surrounding area add to the realism.

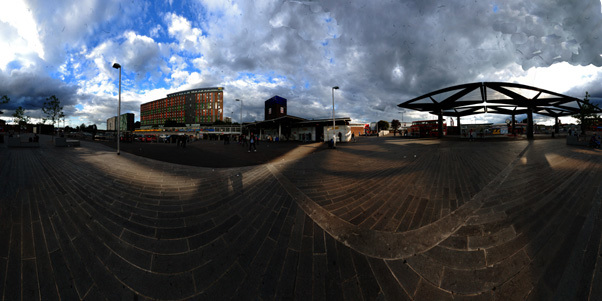
To demonstrate the difference between LDR and HDR images, I took another set of images at Tottenham Hale station and created an artistically modified version of the original. Here’s the stitched photography (with a bit of photoshop patching).
Apart from the ground texture having more definition, there is not much improvement in render realism.

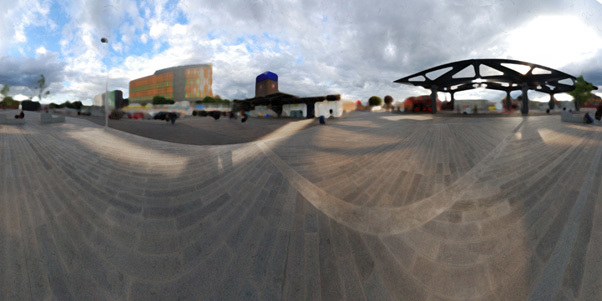
And here’s the artistic version.
And the bike has a richer appearance.
Pseudo HDR from an SLR can save a lot of time compared with full HDR but it is also well worth experimenting with Photoshop effects and filters to improve the results.
Reduce downtime and improve service efficiency with AI-powered troubleshooting. Learn how service teams use ilean to solve problems faster and capture knowledge.

As organisations continue to adopt AI, expand their cloud estates, and support more flexible ways of working, the security landscape is becoming more complex. The challenge in 2026 isn’t just preventing attacks, it’s maintaining visibility, protecting data in new workflows, and ensuring the business can recover quickly when disruption occurs.
The construction industry is entering a new era, and Bluebeam is once again leading the way. In 2026, Bluebeam Max will launch as a new premium subscription that combines the power of Revu with advanced AI technology. This blog highlights just some of features you will expect to see within Bluebeam Max.