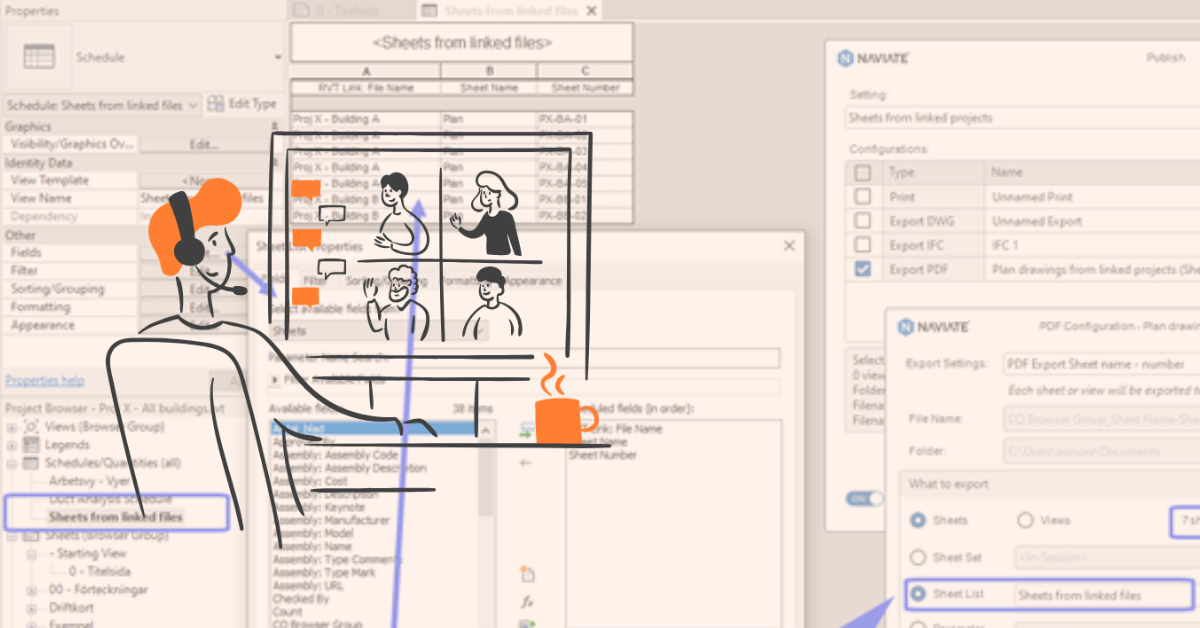
A PDF writer is an essential asset to secure that file names are printed automatically with the correct names. Both Bluebeam and Adobe Acrobat are software options to integrate. Here we will quickly show you the settings for Bluebeam, then go into details on how you can integrate Naviate with PDFCreator, a free PDF tool.
To ensure that Naviate Publish will work with the PDF writer all files must be saved in a specific folder instead of asking after file name.
How to connect Naviate and Bluebeam
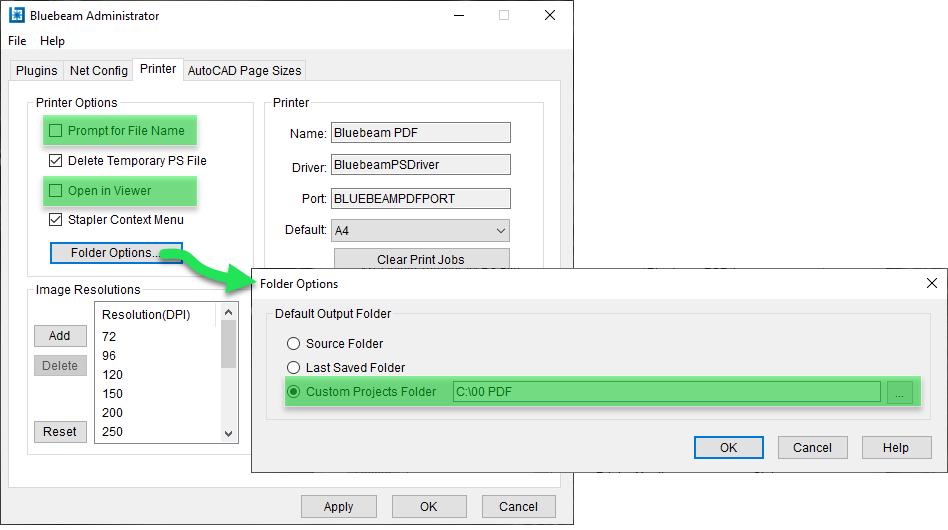
Go to the Bluebeam control panel and do the following edits (marked in green in the below image):
- Uncheck ‘ask for file name’
- Uncheck ‘open in viewer’
- In folder alternatives, select your project folder

How to connect Naviate and PDF Creator
It’s worth mentioning that there’s no available support from either PDFCreator or Symetri for difficulties with this installation. There is a known issue with PDFCreator losing the settings (most likely connected to not having admin rights on your computer). We can’t guarantee that the functions and settings available now will be there in future releases.
Download PDFCreator
Visit the website https://pdfforge.org and search for PDFCreator. Download and install per instructions. Note the option to do an advanced installation where you can select PDF Architect as a trial version for a larger software for PDF management. If you would like to support the further development of the software, you of course have the option to purchase the PDF Architect.
Settings in PDFCreator
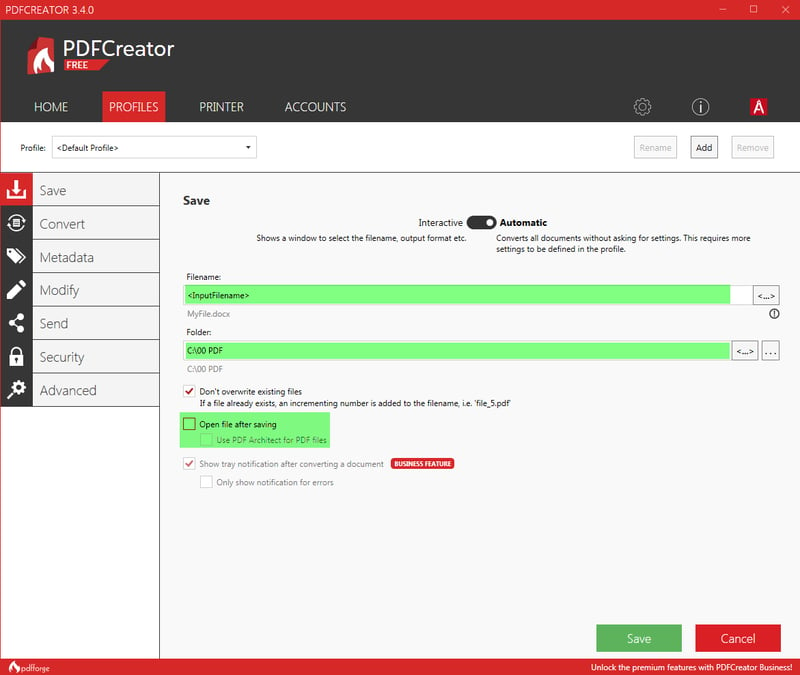
After download and installation is completed, go to profiles to do the following edits in settings (marked in green in the image below):
- Filename: add filename
- Choose the folder where your PDF files should be saved. A tip is to have the same folder structure for everyone in the project. Save to local folder first, then to common folder for the project.
- Un-select ‘open file after…’ to avoid pop-ups after each save

Some important notes on the PDFCreator
- To verify that the settings work, do the following control in Word. Open a document and print out to PDFCreator. No dialogue should pop-up and a PDF should automatically save to your selected folder. The file name should match the word document name.
- You can create multiple profiles in the PDFCreator. Examples for profiles can be one asking for file name, another for save files to a certain project folder or similar.
- Please note that you need to have PDFCreator open when using the feature in Revit for it to work.
Settings in Naviate Publish
If you get the PDFCreator to work in your Word test, it will also work in Revit.
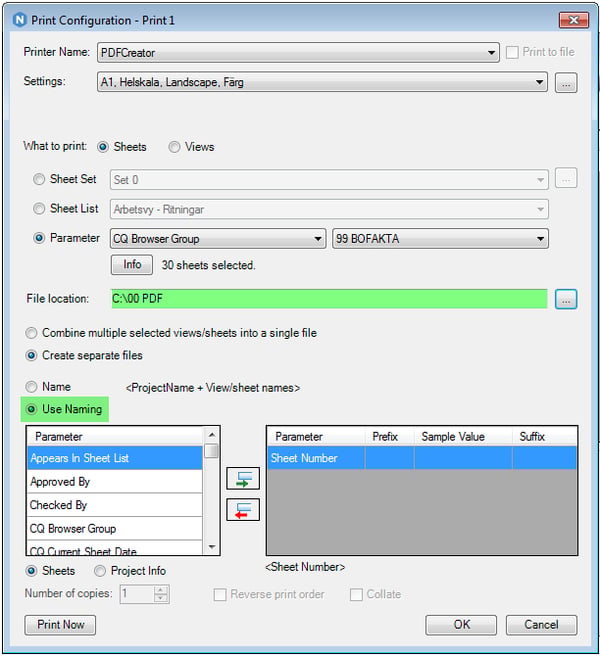
In print configuration, do the following changes (marked in green in the image below):
- File location: same folder you chose in PDFCreator. This ensures that Naviate Publish will discover duplicates if the file is already created
- Use naming: ‘appears in sheet list’
Want to know more?
Download and try the Naviate Publish feature for yourself in the following trials:
Any other features or topics you would like us to cover? Leave an comment below, and we'll get on with it.
