
How AI Is Transforming Daily Work in Service Teams
Reduce downtime and improve service efficiency with AI-powered troubleshooting. Learn how service teams use ilean to solve problems faster and capture knowledge.
Managing multiple sheets in any AutoCAD project can be tiring, however using the sheet sets functionality, you can group all your layouts into one place and modify some of their properties.
In this blog, we’ll walk through how to prepare your title block attributes so you can set their values directly from the Sheet Set Manager—saving time and ensuring consistency across your drawings.
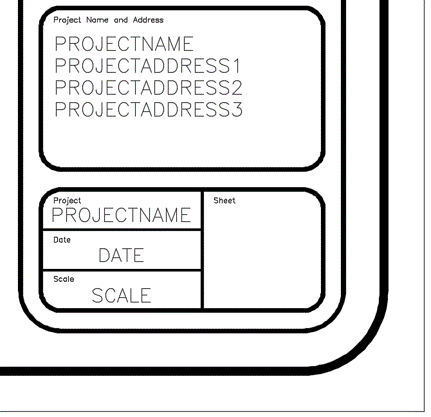
Let us begin with our title block template, which already contains some attributes to introduce project information, such as PROJECTNAME or DATE. Then, we will add fields to those attributes to enable changing their values from the sheet set manager. This will have the advantage of being able to update all the layouts in our project at once, rather than having to modify them one by one.
Double click on each of the attributes in AutoCAD to access the ‘Edit Attribute Definition’ dialog. After adding a tag and a prompt, type a default value for the attribute, select it, right click it and pick ‘Insert field’.
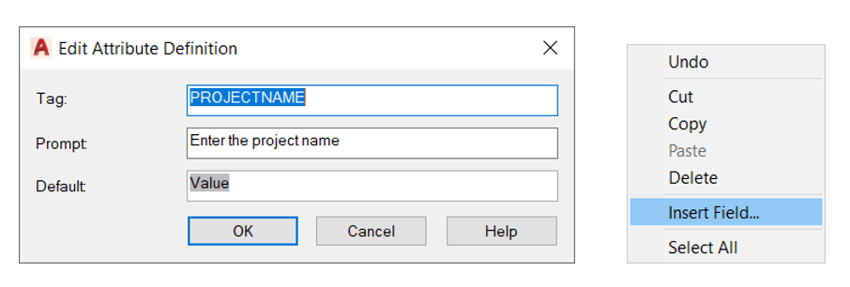
The ‘Field’ dialog will open, as shown below.
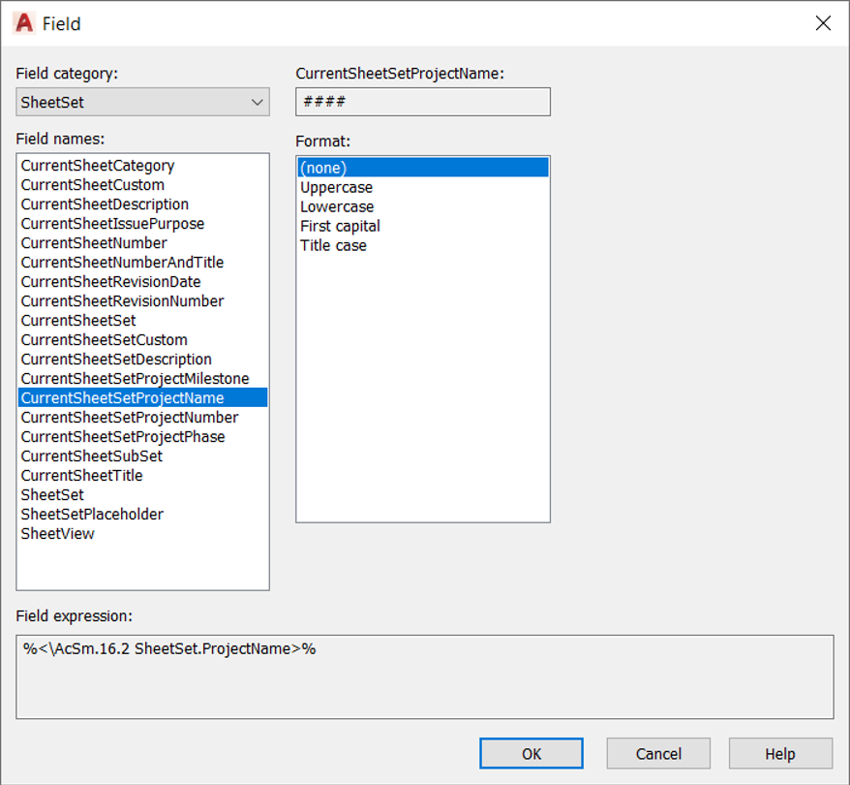
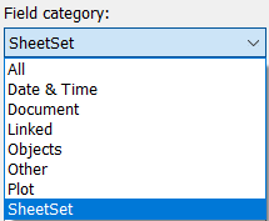
In this example, we’ll use one of the default field names—CurrentSheetSetProjectName—from the SheetSet field category. You also have the option to create your own properties by selecting CurrentSheetSetCustom. When you choose this, an additional dropdown will appear, allowing you to pick from any custom properties that have been defined for the Sheet Set. We’ll walk through how to create one of these custom properties. Other useful field categories include Date & Time, which lets you automatically insert the system date, and Objects, which you can use to retrieve details such as the scale from a viewport.
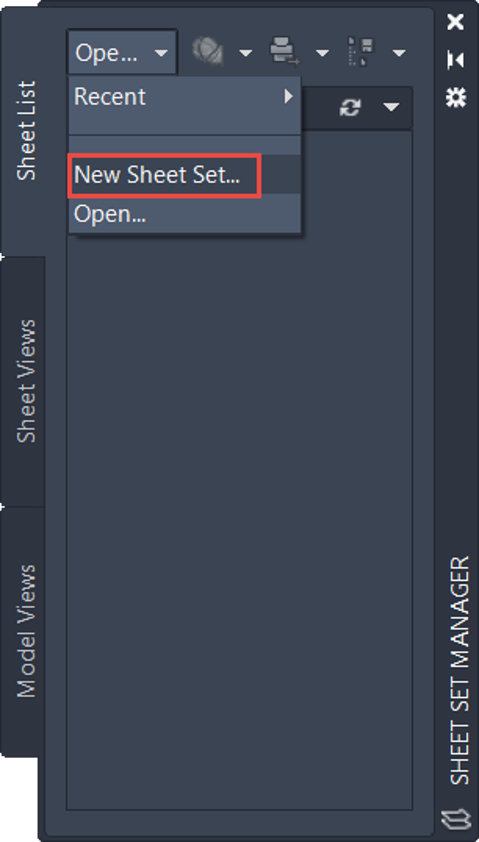
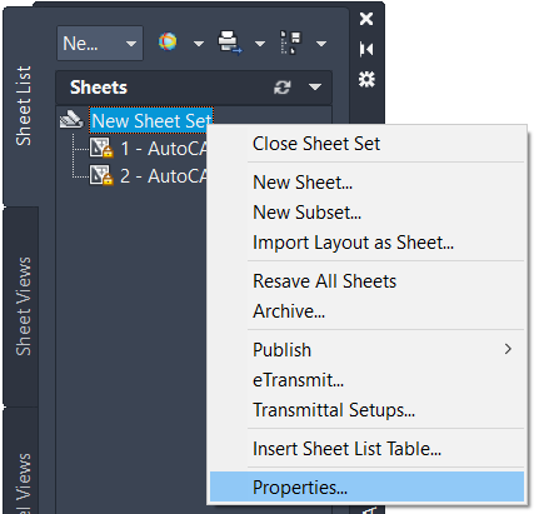
Once all the fields have been inserted in their respective attributes, you can create the sheet set for your AutoCAD project. Type SHEETSET to open the Sheet Set Manager palette and select ‘New Sheet Set…’ as below.
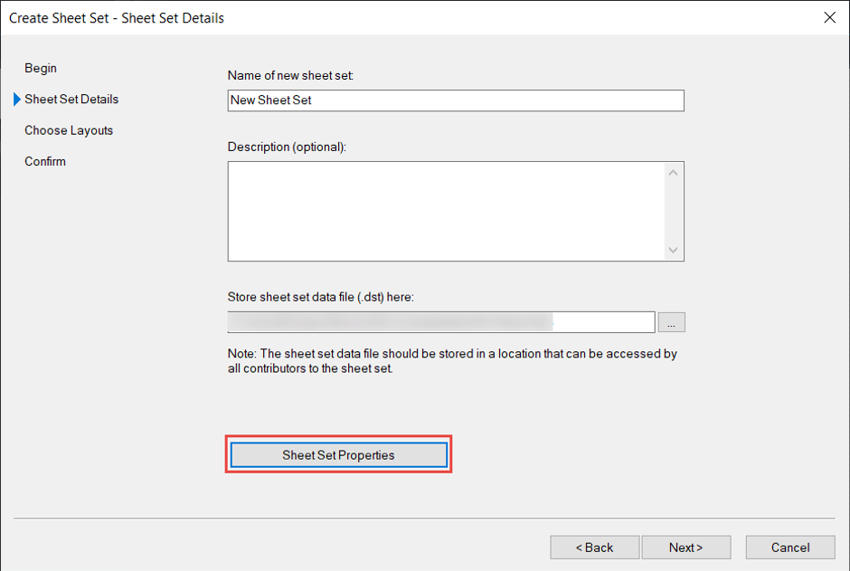
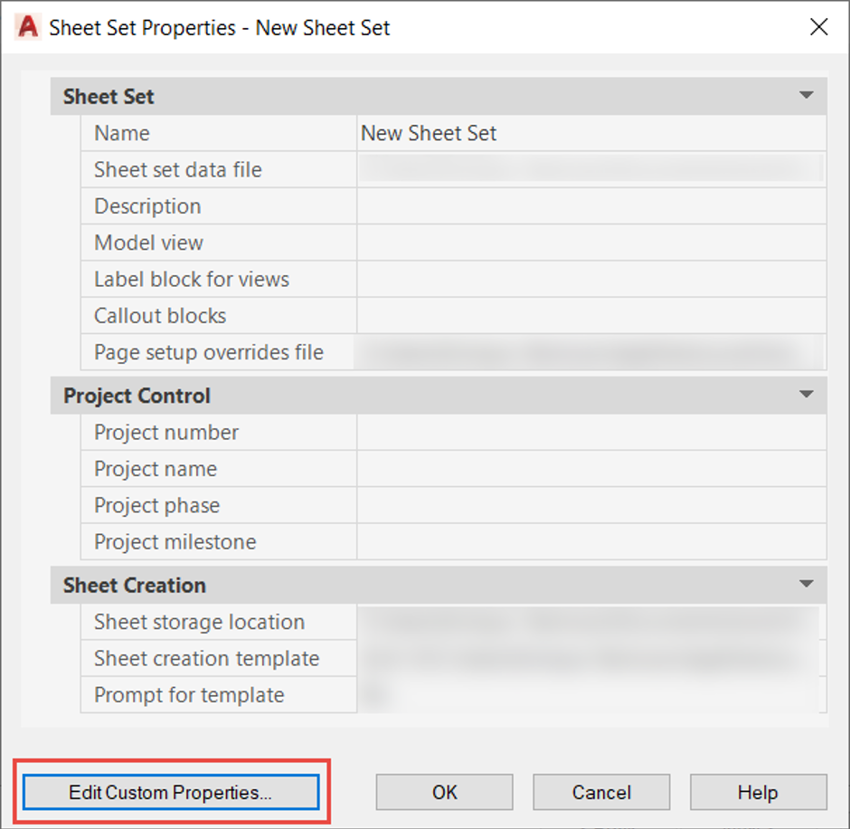
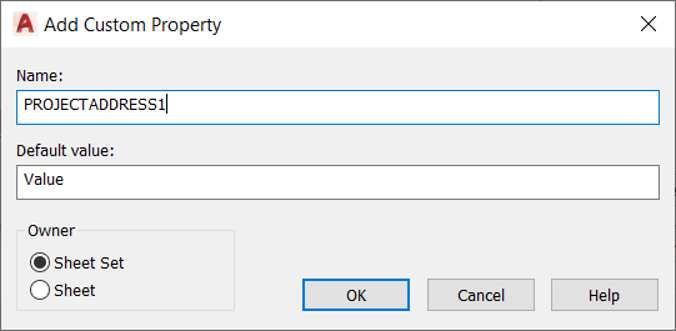
Follow the wizard to create a *.dst file that will store the layouts that you would like to include. If you want to add some custom properties, you can access ‘Sheet Set Properties’ and then ‘Edit Custom Properties…’.
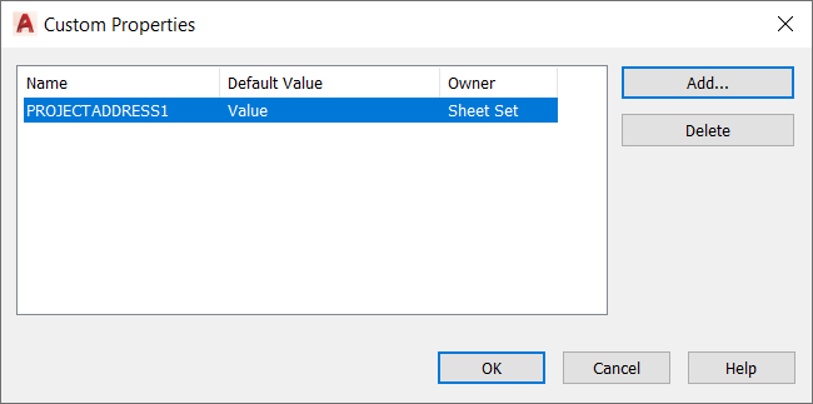
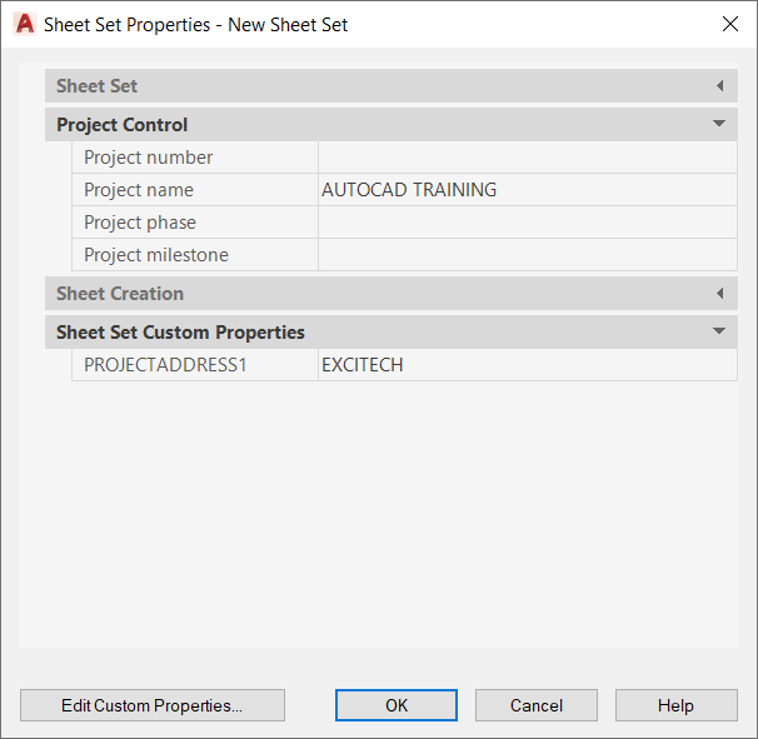
We will add PROJECTADDRESS1 as a custom property of the Sheet Set.
You can now set the properties for all the layouts contained in the Sheet Set as shown below.
The titleblock for all the layouts contained in the Sheet Set will update accordingly. You may need to type REGEN in the command line for the changes to update.

If you would like more information on AutoCAD, please visit our webpage
Reduce downtime and improve service efficiency with AI-powered troubleshooting. Learn how service teams use ilean to solve problems faster and capture knowledge.

Cybersecurity risks are not always caused by sophisticated attacks or major system failures. In many cases, risk builds quietly through everyday habits, overlooked processes, and limited visibility into where data is stored or how users interact with systems.

Learn how to reduce cyber risk through stronger security foundations. This month's bulletin covers home office security, legacy technology risks, vulnerability management, MFA, and cybersecurity best practices.