
How AI Is Transforming Daily Work in Service Teams
Reduce downtime and improve service efficiency with AI-powered troubleshooting. Learn how service teams use ilean to solve problems faster and capture knowledge.
SketchUp Pro is an easy-to-learn and intuitive 3D modelling tool. It is a great tool to quickly draft your conceptual models and can also be used for detailed design. If you’re just starting out, a SketchUp training course could really benefit you.

This blog takes you through what you can expect from our SketchUp Essentials training course, a course designed for people with no previous experience that will get you to a point where you can start confidently designing in 3D in a single day of training.
As with all Symetri courses, you will be part of a small group (up to 8 delegates) to ensure that you get the full attention of the trainer. You will be interacting with the software for the whole duration of the course and will receive all the guidance that you need to complete the exercises. You are also encouraged to ask as many questions as you like to make sure you fully understand the concepts and workflows presented.
After a quick overview of the software and the interface, you will learn how to create your own SketchUp template, what can you store in it, and how to access the different settings.
We start by covering, in some detail, all the main commands to model geometry in 2D, then move onto modelling in 3D. We also explain the most effective ways to navigate the model, the best practices to orient your faces consistently, and coordinate between the different models.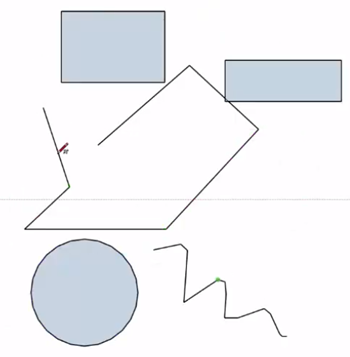
Following some practice modelling in 3D, we have a look at the main ways to select and refer to existing geometry, using inferences and locking. We also explore the main options to manipulate existing geometry, from basic manipulations such as moving, copying, rotating, arraying and mirroring objects to more complex ones including offsetting different shapes or extruding a face along a path. The use of guides as construction lines and the different options to scale the model, and other topics like the creation of 3D text are also touched upon.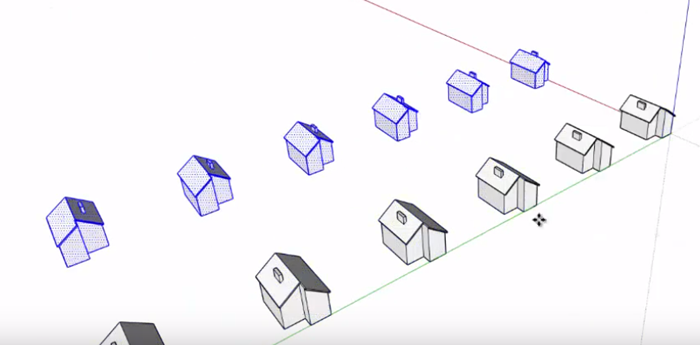
Now that we know how to model complex geometry in 3D, we explore how to apply materials and manage styles to control the display of the model. We then use the geo-location tools to add 3D terrain data and aerial image to the model.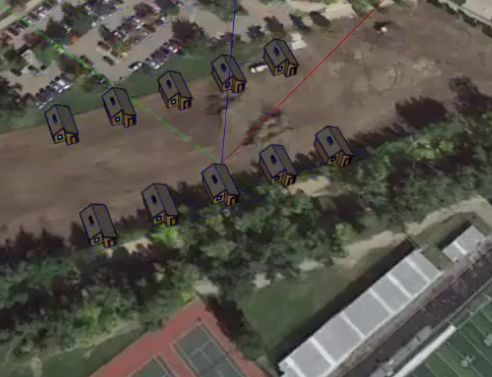
We understand the importance of using layers, groups and components to organise our drawings and to control the visibility of objects, therefore we will learn how to handle nested groups and components, and what happens if we scale similar components differently.
With a variety of different components as our fingertips, we browse through the different components that can be accessed from the application, as well as how to get components from the 3D warehouse. Here you can download models that have been shared by the community. We also work on how to interact with dynamic components and explain some efficient practices when working with these components, such as temporarily using a placemark component to reduce the file size while we are working with the model.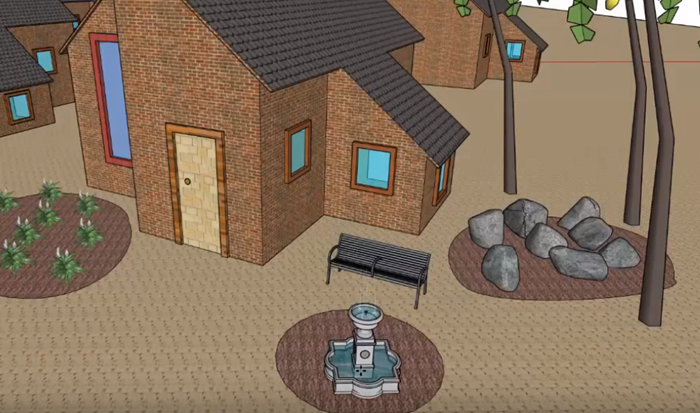
We continue going through the different ways to work with photographs, from applying images as textures to using a photo to trace geometry over it.
Applying fog and shadows can then be applied to our model, and we use different tools to view the model from different perspectives, from standing at a certain position, looking around the model, and walking and flying around the model. We will save some of those views and create an animation from them that you can export as a video.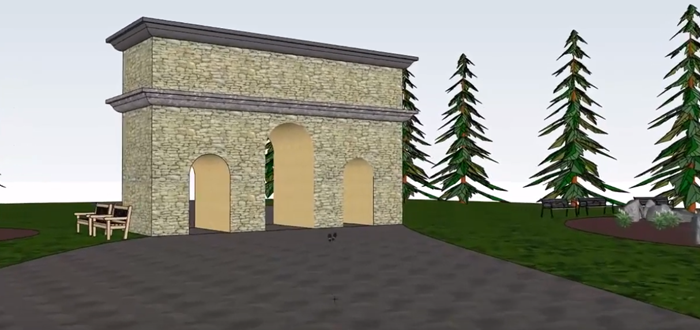
The day is concluded with an overview of some of the most common extensions, different add-ons that can be installed to add functionality, and automate some of the most common tasks in different industries, such as architecture, construction and engineering. Some examples like creation of a roof, a staircase, or a window frame are demonstrated as an introduction to the potential of extensions.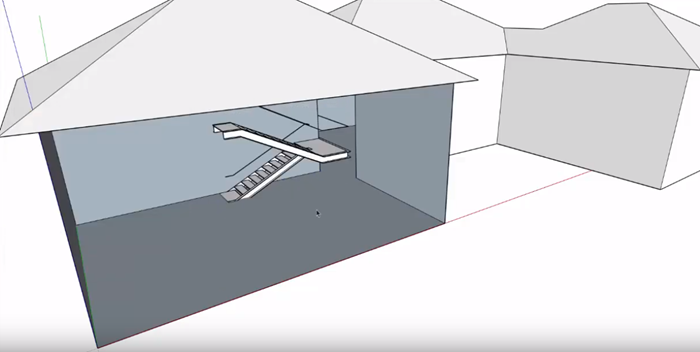
I hope this provides you with a flavour of what to expect in our SketchUp training course which provides the essentials of how to use the software. Take a look at the course agenda here: SketchUp Essentials.
Reduce downtime and improve service efficiency with AI-powered troubleshooting. Learn how service teams use ilean to solve problems faster and capture knowledge.

Cybersecurity risks are not always caused by sophisticated attacks or major system failures. In many cases, risk builds quietly through everyday habits, overlooked processes, and limited visibility into where data is stored or how users interact with systems.

Learn how to reduce cyber risk through stronger security foundations. This month's bulletin covers home office security, legacy technology risks, vulnerability management, MFA, and cybersecurity best practices.